Introduction
Welcome to our guide on diagnosing and repairing fuel pump strainer issues. In this post, we’ll be walking you through the process step by step and providing important precautions to keep in mind while performing this task.
Symptoms of a Faulty Fuel Pump Strainer
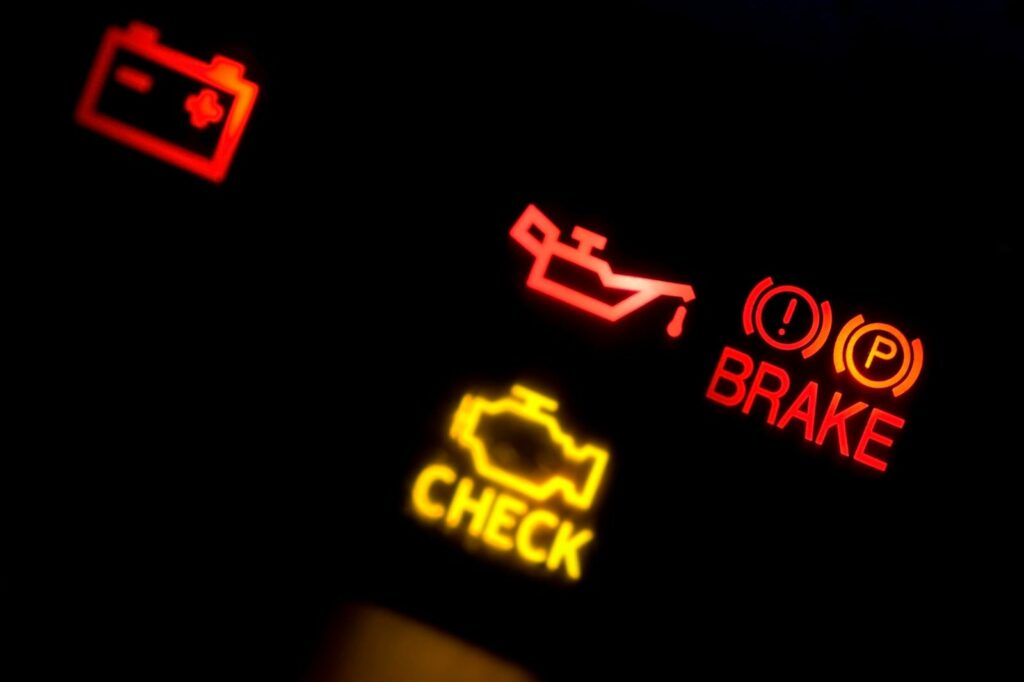
Before diving into the repair process, it’s important to know what symptoms to look out for that may indicate a faulty fuel pump strainer. Some common signs include difficulty starting the vehicle, a decrease in fuel efficiency, and a noticeable drop in performance. If you notice any of these symptoms, it’s likely time to check the fuel pump strainer.
Diagnosis
To diagnose a faulty fuel pump strainer, you’ll need to start by checking the fuel pressure. A fuel pressure gauge can be used to measure the pressure at the fuel rail. If the pressure is lower than the recommended level, it’s a sign that the fuel pump strainer may be clogged and needs to be replaced.
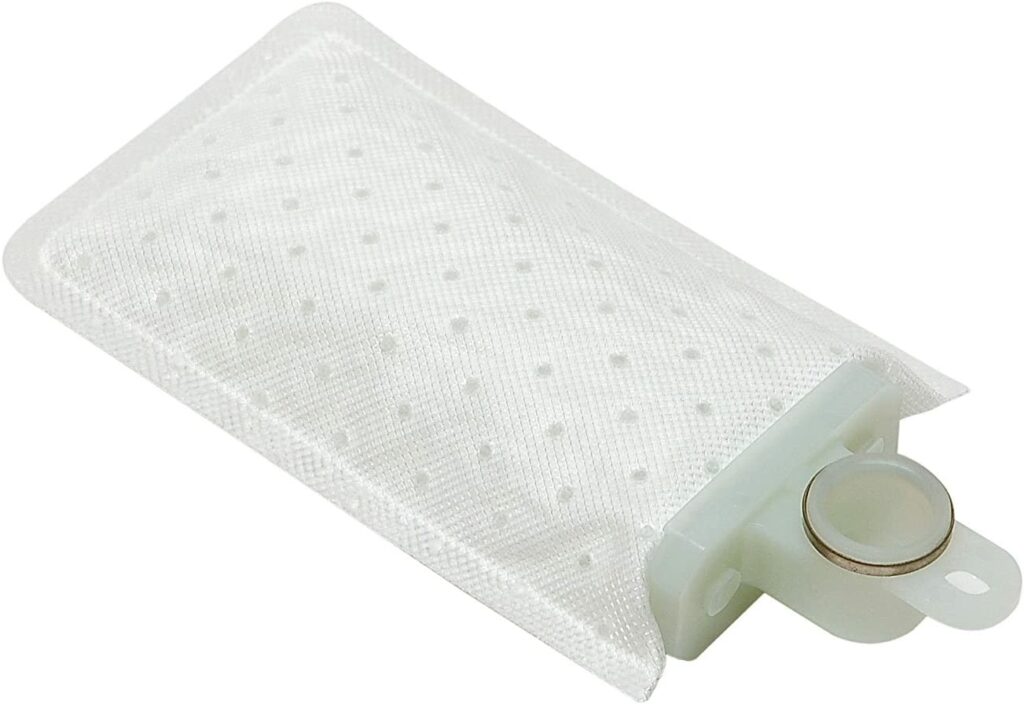
Another way to diagnose a faulty fuel pump strainer is by inspecting the strainer itself. If it appears to be dirty or clogged with debris, it’s likely time for a replacement.
Tools Needed
Before starting the repair process, it’s important to gather all the necessary tools. You’ll need a socket set, a fuel pressure gauge, and a replacement fuel pump strainer.
Removing the Old Strainer
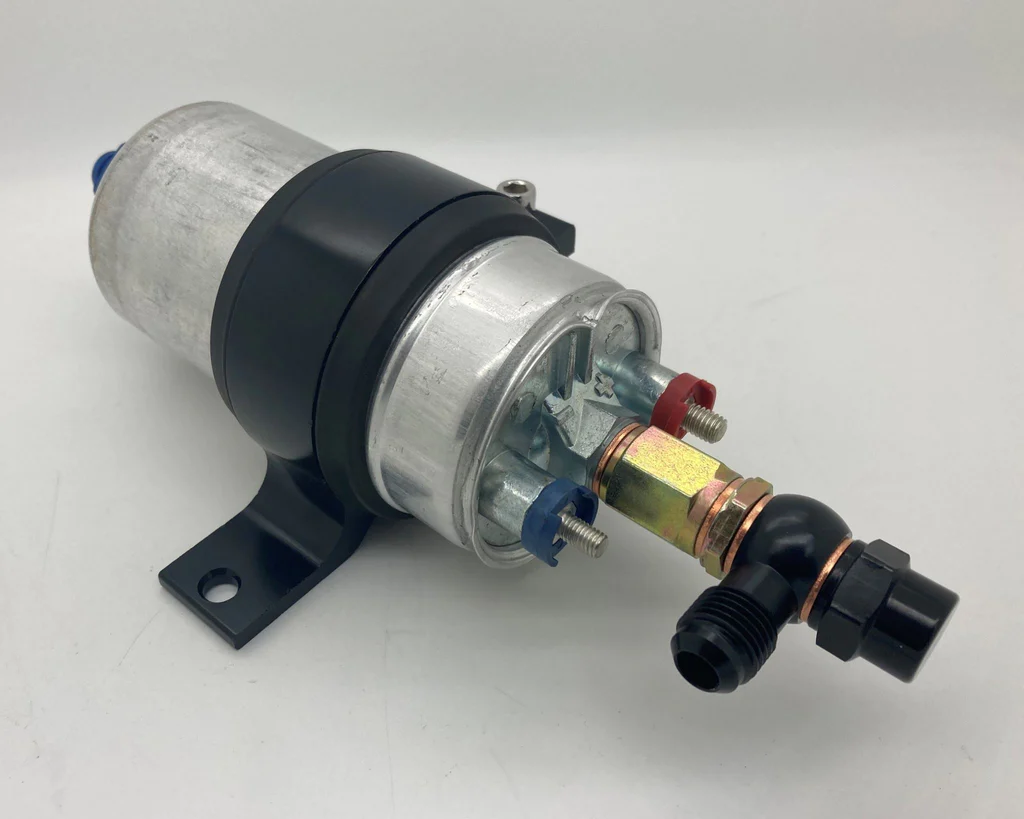
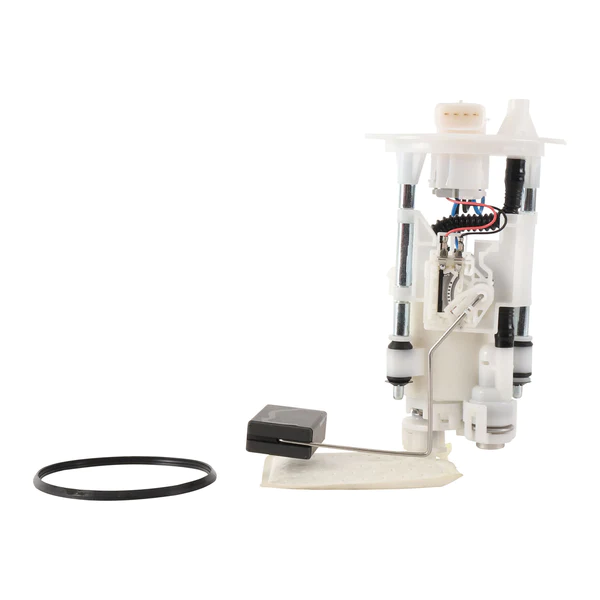
To remove the old fuel pump strainer, you’ll need to locate the fuel pump assembly. This is typically found in the fuel tank, but the location can vary depending on the make and model of your vehicle. Once you’ve located the fuel pump assembly, use the socket set to remove the bolts that hold the strainer in place. Carefully remove the old strainer and discard it.
Installing the New Strainer
To install the new fuel pump strainer, simply reverse the process you used to remove the old one. Place the new strainer into the fuel pump assembly and secure it with the bolts.
Testing the Fuel Pressure
Once the new strainer is installed, it’s important to test the fuel pressure to ensure that it’s at the correct level. Use the fuel pressure gauge to measure the pressure at the fuel rail. If the pressure is within the recommended range, you’ve successfully repaired the fuel pump strainer.
Precautions
It’s important to take precautions when working with fuel to avoid any potential hazards. Make sure to work in a well-ventilated area and use gloves to protect your skin. Always follow the manufacturer’s instructions and never smoke or have an open flame near the fuel tank.
Conclusion
Fuel pump strainer issues can cause a variety of problems with your vehicle, but they’re relatively easy to diagnose and repair. By following the steps outlined in this guide, you can troubleshoot, repair, and test the fuel pump strainer in your vehicle, ensuring that your vehicle runs smoothly.
Remember to always be cautious and work safely when dealing with fuel systems, and If you have any doubts about your ability to perform this task, it is best to seek the help of a professional.

