Introduction
A failed catalytic converter can cause a decrease in your vehicle’s performance, increased emissions, and even damage to the engine. Replacing a failed catalytic converter can be a bit of a challenge, but with the right tools and knowledge, it can be done. In this blog post, we will walk you through the steps of replacing a failed catalytic converter, as well as some precautions to keep in mind.
Step 1: Locate the Catalytic Converter
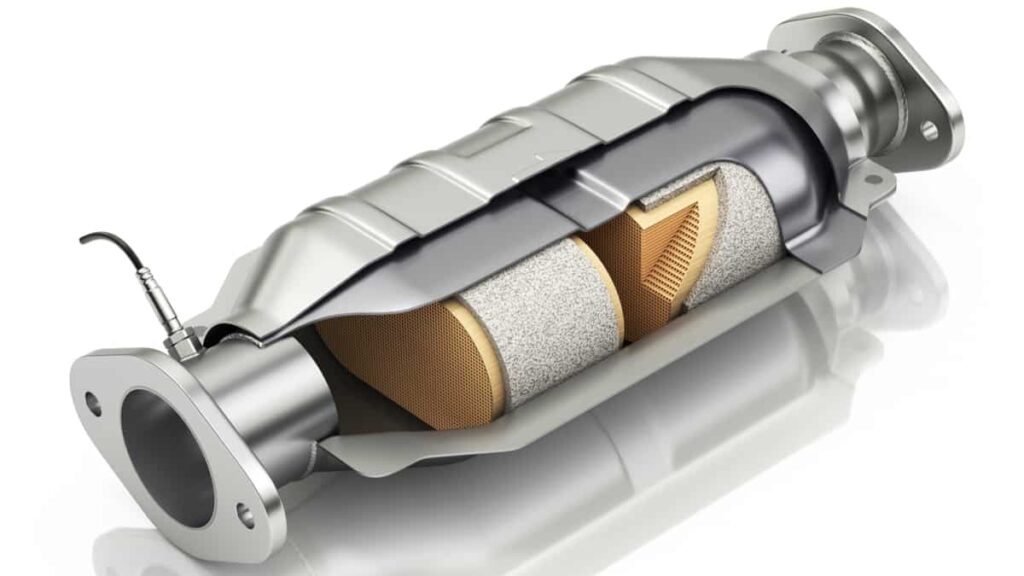
The catalytic converter is typically located in the exhaust system, between the engine and the muffler. It is a cylindrical shaped component that can be found by following the exhaust pipes from the engine. In some cases, it may be necessary to consult the vehicle’s service manual to locate the catalytic converter.
Step 2: Raise the Vehicle
Before beginning any work on the vehicle, it is important to raise it securely off the ground. This can be done using a jack and jack stands, or a vehicle lift. Once the vehicle is raised, make sure it is securely supported and level.
Step 3: Disconnect the Exhaust System
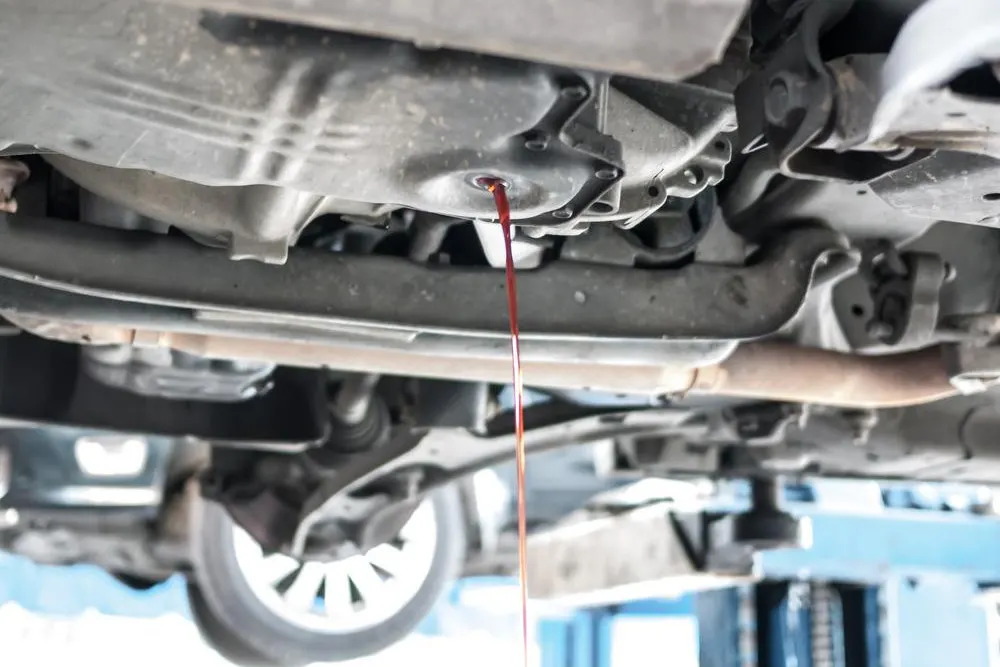
To replace the catalytic converter, the exhaust system will need to be disconnected. This can typically be done by using a socket wrench to remove the bolts that hold the exhaust pipes in place. Make sure to have a bucket or pan ready to catch any fluids that may drain out.
Step 4: Remove the Catalytic Converter
Once the exhaust system is disconnected, the catalytic converter can be removed. This may require the use of a special tool, such as a catalytic converter removal tool, to break the converter free from the exhaust pipe. Be careful not to damage the exhaust pipe or surrounding components while removing the converter.
Step 5: Install the New Catalytic Converter
With the old catalytic converter removed, the new one can be installed. Make sure the new converter is properly aligned with the exhaust pipe and securely fastened in place. Reinstall the exhaust system, making sure all bolts are tightened to the manufacturer’s specifications.
Step 6: Test the Vehicle
Once the new catalytic converter is installed, start the vehicle and listen for any unusual noises. Check for leaks, and make sure the exhaust system is properly aligned. Take the vehicle for a test drive to ensure that it is running correctly.
Precautions
It’s very important to take the necessary precautions when replacing a catalytic converter. Always make sure to wear protective gear such as gloves, goggles, and a face mask to protect yourself from exhaust fumes. Be sure to follow the manufacturer’s instructions when installing the new converter, and make sure to properly dispose of the old converter.
Conclusion
Replacing a failed catalytic converter can be a bit of a challenge, but with the right tools and knowledge, it can be done. By following the steps outlined in this blog post, you can replace a failed catalytic converter and get your vehicle running smoothly again. Remember to take the necessary precautions and always consult the vehicle’s service manual for specific instructions.

